Menu
 1.866.668.5111
  6:30 am - 6:00 pm
 Give a Happy High Five!

April 27, 2020
Bravo! this Week | April 27
This week in our centers, children are continuing their exploration of The Great Outdoors by engaging in play activities to learn about weather & seasons. If you’re home and would like to explore along with us, here are several activities we hope might bring some happiness to your days.
Infants & 1YOs
Sun, Moon, Stars
Tape pictures of the sun, moon, and stars to the bottom of a cookie tray or shallow storage bin. Cover with a dry material of your choice (oats, cornmeal, etc.). Encourage your child to explore the bin, talking about and describing the pictures as they find them.
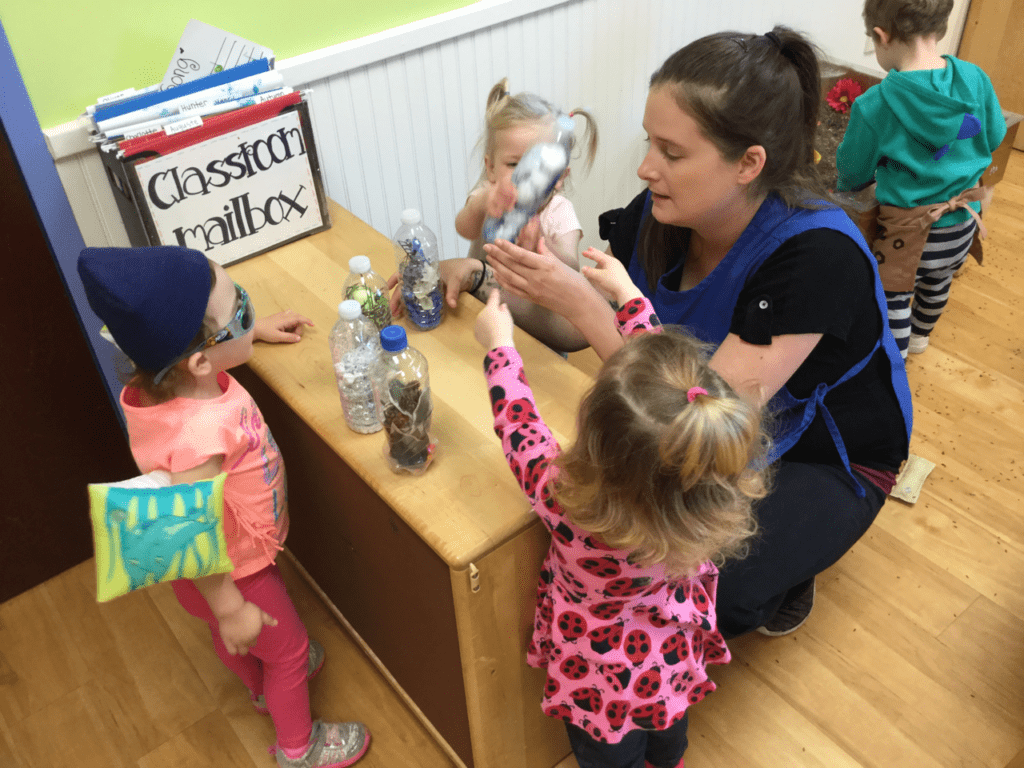
Weather Sensory Bottles
Prepare some sensory bottles in empty water bottles (sunny – light blue water with one yellow pom pom; cloudy – blue water with lots of cotton ball “clouds”; rainy – dark blue water and glitter “rain”; snowy – clear water filled with white pom poms or another small white object). Be sure to seal the caps onto the bottles with hot glue. As your child explores the bottles, talk about how they represent different types of weather.
Toddlers
Frost Painting
Mix together equal parts Epsom salt and water, adding food coloring to create your desired color. Invite your child to paint with the mixture – at first, it will look like regular watercolors, but as it dries the salt and water will crystallize and look like frost on a window! Talk to children about frost and when they may have seen it before (on the car window in the winter, for example!).
Wind Experiments: Heavy and Light
Create a bag full of some light items and some heavy items, and take it outside with you on a windy day (streamers, play scarves, paper plates, feathers, blocks, toy people, etc.). Challenge your child to think about whether the wind will blow the item or not, and then test it out! You can add a visual element to this activity by having a simple drawing of each item on a piece of paper, with “Yes” and “No” columns. Your child can use a crayon marking or sticker to indicate if the wind blew the item.
Rainbow Color Matching
Flip over a tissue box so the hole is on the bottom. Cover with a piece of white paper. Color thick lines in the colors of the rainbow, so that the white paper is covered. Carefully use scissors to make openings for craft sticks to go through. Color craft sticks to match the box. (See a photo example of this here.) Encourage your child to explore the materials, matching the colored craft sticks to the correct slot. Talk about “same” and “different” as children play – you can talk about rainbows, too!
Preschool

Painting Rainbows
Set up your child with paint, paper, and brushes, along with photos of rainbows (either in books or on a tablet/phone). Encourage your child to make a painting of a rainbow, while talking to them about why rainbows occur and if they have seen rainbows before.
Nature and Blocks
Have children go outside and gather some natural materials (sticks, leaves, flowers). Then, invite them to add the natural materials to their block play! Talk about the weather with them – is it windy today? They can blow on their block creation to create “wind” for the leaves and flowers.
Cloud Watching
Take your child outside with a blanket, and find a comfy spot to relax and look up at the sky. Observe the clouds together – how do they look? How are they moving, fast or slow? Do any of the clouds look like anything? Bring some paper and crayons for children to draw the clouds!
Pre-K
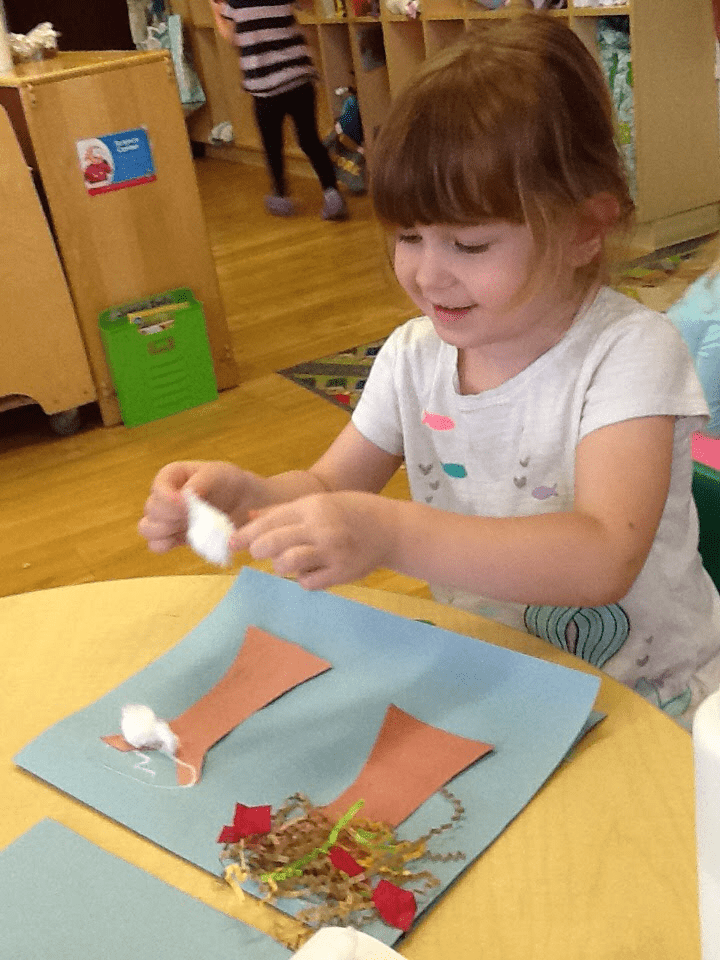
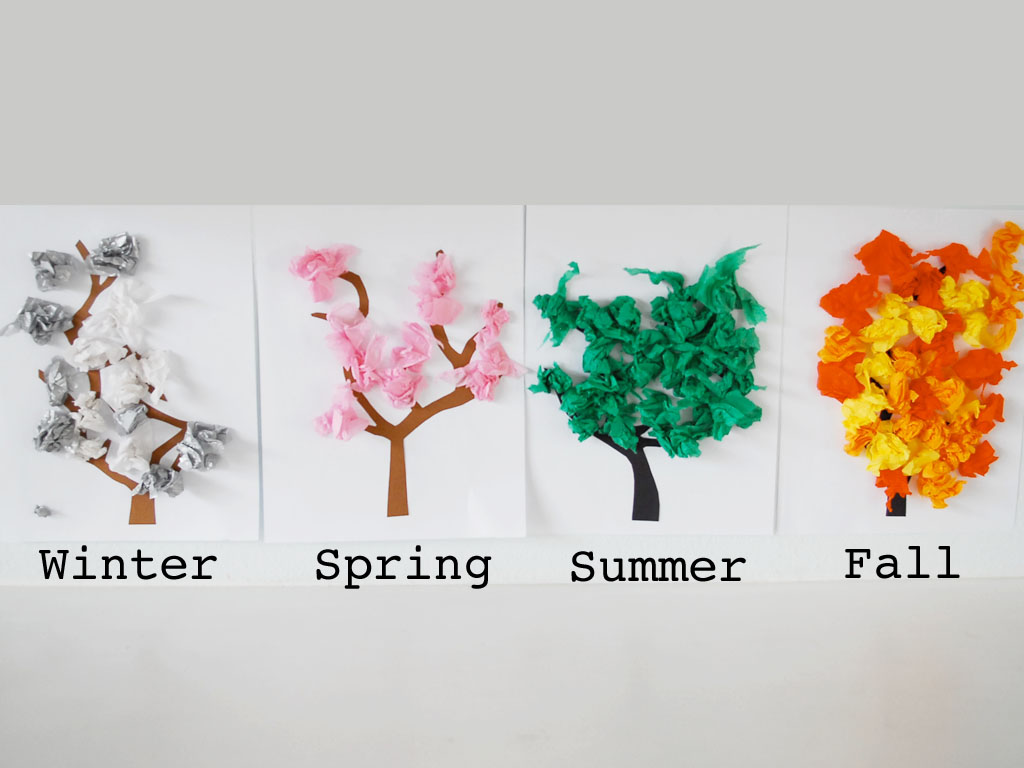
Four Seasons Tree Craft
Divide a large sheet of paper into four quadrants. Glue a tree trunk into each quadrant, or have your child draw one in each. Have construction paper, crayons, tissue paper, or other art materials available. Talk to your child about the different seasons, and encourage them to use the art materials to create a tree in each season. See a photo example of this activity here.
LEGO Duplo Raindrops
Provide children with an eye dropper, cups of water, and LEGO Duplo blocks. Have children use the eye droppers to fill the circles on top of the Duplo with raindrops! How many raindrops do they think it will take to fill the circle? Were they correct?
Hot Air, Cold Air
You will need two containers (one filled with hot tap water, one with ice and cold water), 1 balloon, and a 1.25-liter or 2-liter bottle. Blow the balloon up and then let the air out, to make it flexible and stretchy. Place the balloon over the mouth of the empty plastic bottle. Stand the bottle in the middle of the container filled with hot water; wait a few minutes and notice how the balloon starts to inflate and expand. Then, place the bottle in the container with cold water and ice; wait and see how the balloon starts to deflate and contract. Repeat, switching the bottle between hot and cold. Why is this happening? When the air inside the bottle is warmed, it expands and needs more space, stretching out the balloon. When you move the bottle to icy water, the air cools and contracts, needing less space and deflating the balloon.
School Age
Tornado in a Bottle
You will need 2 2-liter bottles and duct tape. Fill one of the bottles 2/3rds full with water. Place the opening of the empty bottle on top of the bottle filled with water, and use duct tape to fasten the two containers. Make sure to tape it tightly so no water will leak out. Turn the bottles so the one with the water is on top. Swirl the bottle in a circular motion – a tornado will form in the top bottle as the water rushes into the bottom.
Anemometer
Build your own anemometer so children can measure the speed of the wind! This activity will require some help from adults, but also provides an opportunity for children to learn how to use tools in a real setting. Follow the instructions at the link here to make the anemometer.
Spring Wind Chimes
You will need a paper cup, paint, brushes, and a variety of art materials (pony beads, straws, string, bells, pipe cleaners, buttons, etc.). Invite your child to paint their cup as desired. Cut 5 pieces of string, one longer than the others. Invite children to place the art materials onto all 5 strings (the beads, straw pieces, buttons, bells, etc.). When the cup is dry, punch 4 holes around the cup and one hole through the top. Thread the longest string through the top, closing it off with a loop so it can be hung. The remaining 4 strings can be tied to the other holes. Hang your wind chime outside! You can see a completed example at the link here.